Pictures and comments on the inflatable kite
Test pictures
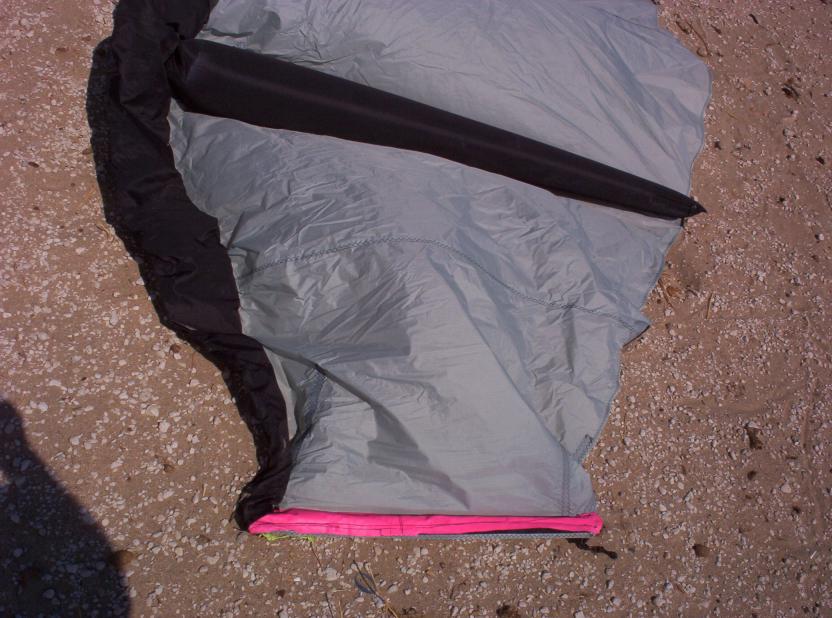
The kite layed on the ground. The changes made by me was the pink part, the wingtip batten. Inside the pink sleeve there is a fiberglass batten as long as the wingtip. It is permanently sewn inside.
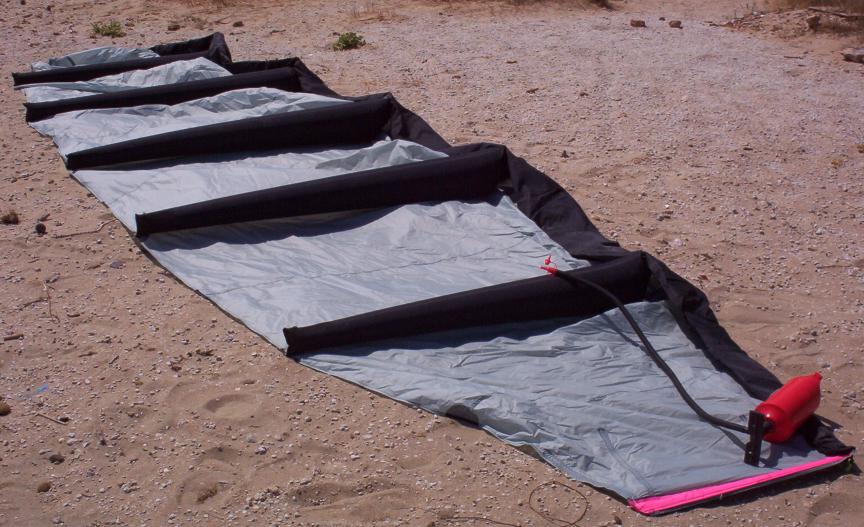
To use the kite, one has to inflate the inflatable battens first and then the Leading Edge inflatable tube.
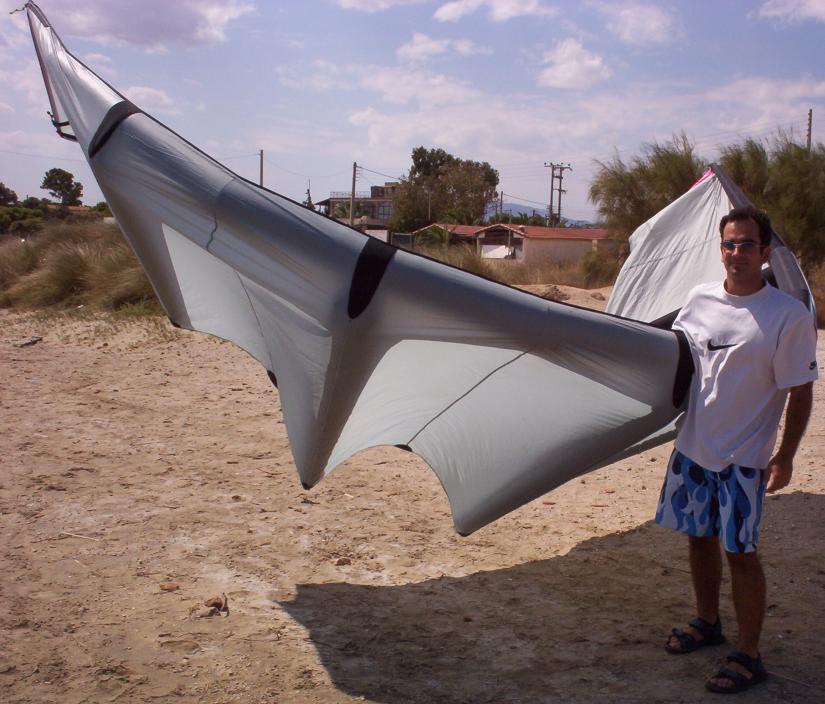
This is what the kite looks like when inflated and the correct way to carry it around.
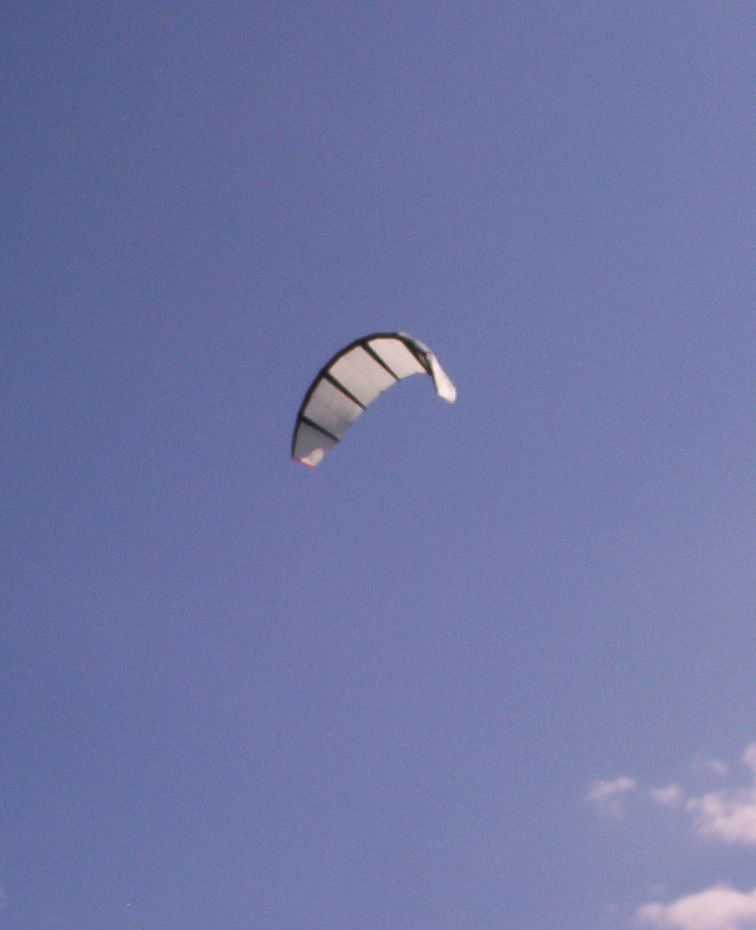
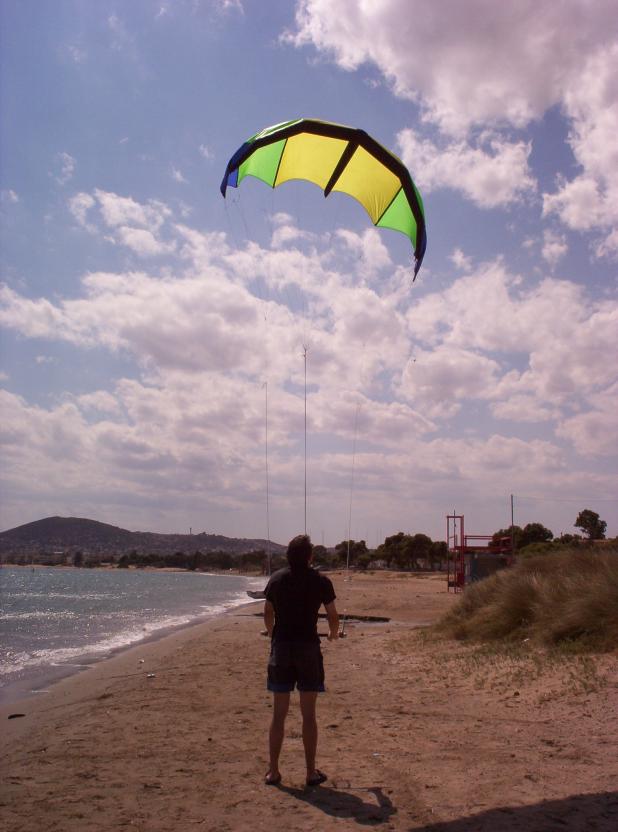
The kite flying in the air.
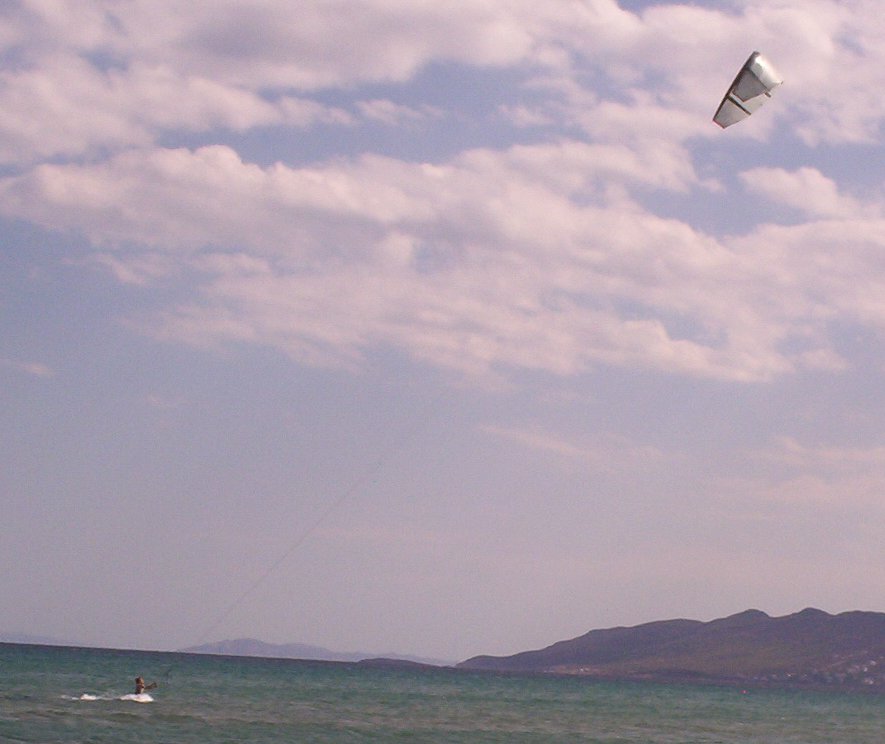
Timo testing the kite in the water.
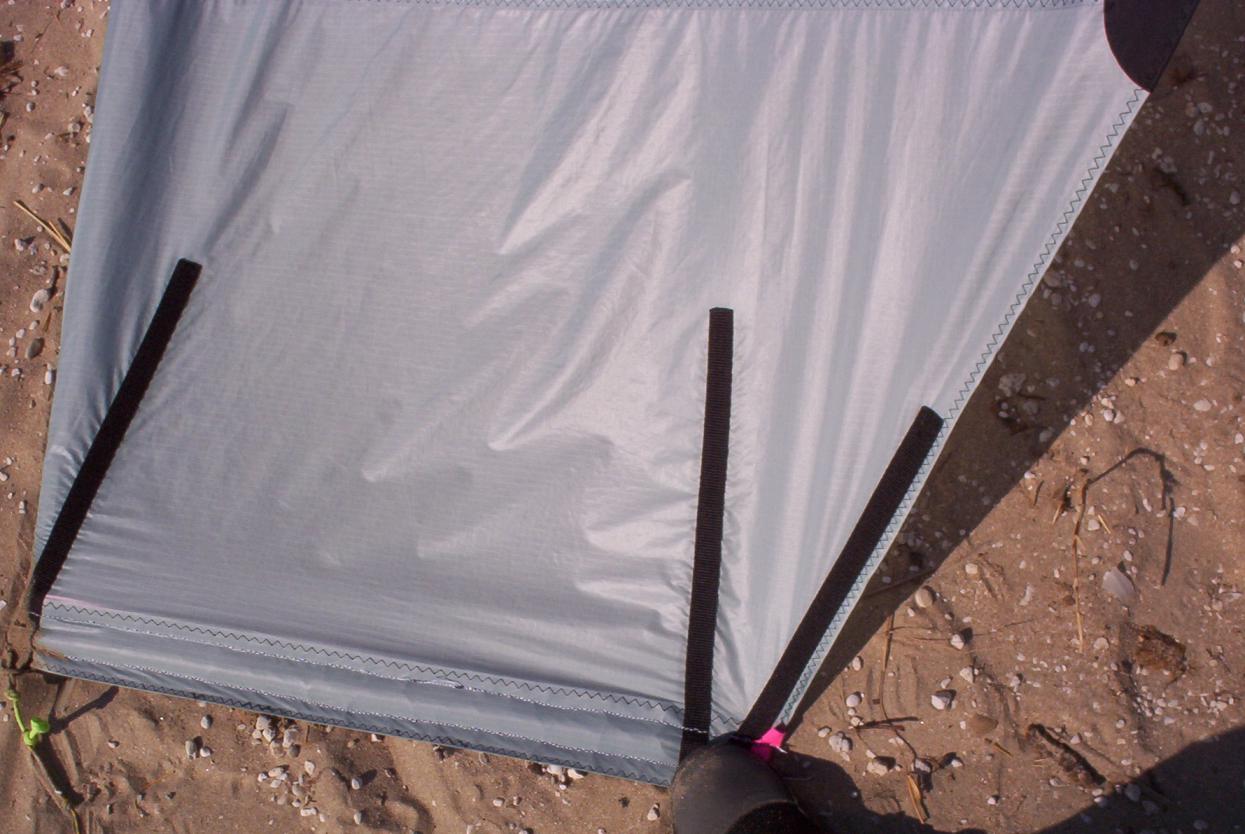
The kite's wingtip panel should have been made of dacron, not ripstop. You can see that the ripstop next to the flying line attachment straps has started to deform. So the whole panel should be made of dacron to avoid tearing the fabric and getting better durability.
Points on the kite that need correction
- Use thicker polyester thread. Polyester because it is hydrophobic and very durable. Current thread is too thin and has started to fray in a some points.
- Wingtips made entirely out of dacron
- Wingtip battens, either carbon or fiberglass, in dacron pockets. The wingtip pockets should be sewn after the flying line attachment straps on the wingtips.
- The inflatable bladders inside the longitudinal inflatable battens
(which run from LE to TE) need to be just a little bit larger to inflate
better. Although the kite looks perfect once inflated, there is a problem
when the inflatable bladder sticks to one end of the pocket and inflates
leaving emtpy space inside. This was the reason one of the bladders started
loosing air after the tests.
That's about it!
Stelios