Appliquéing the Sail
I appliqué the sail pieces before I sew any of them together. With that in mind we will discuss appliquéing next.
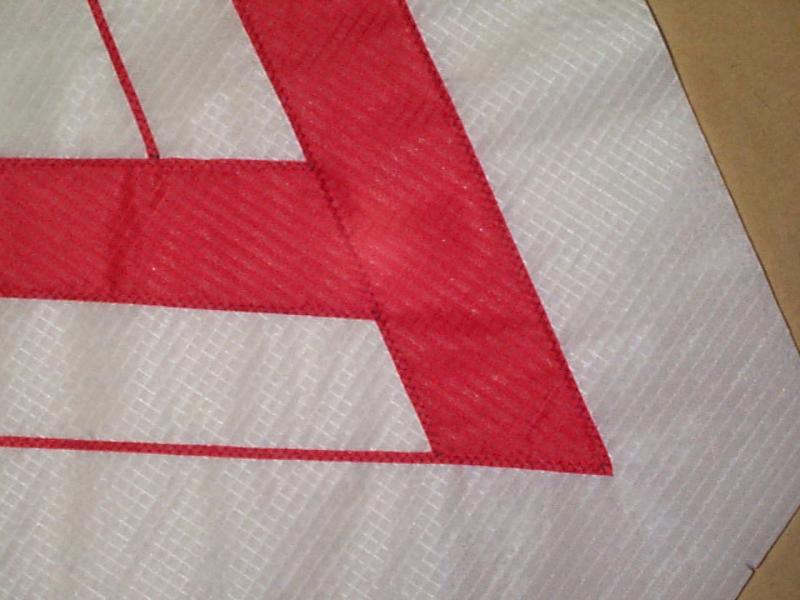
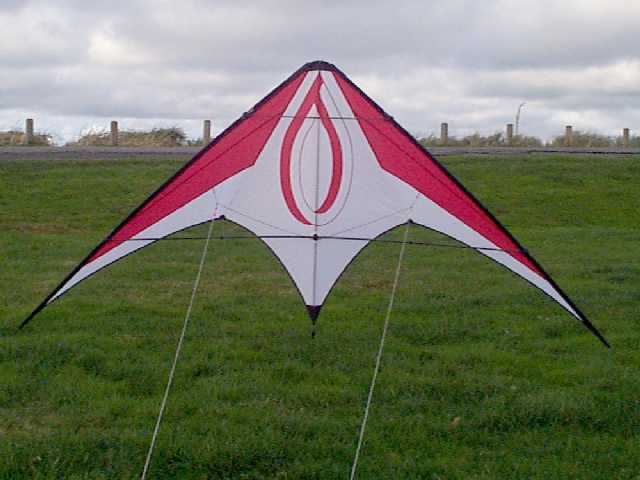 The appliqué that we are doing on this project is a large raindrop
shaped object. It is a two color appliqué, one color being
the color of the center sail and the other color matches the upper wing
panels. I always add a layer to the back of the sail that matches
the color of the front layer. That way the appliqué looks
the same from the front and back.
The appliqué that we are doing on this project is a large raindrop
shaped object. It is a two color appliqué, one color being
the color of the center sail and the other color matches the upper wing
panels. I always add a layer to the back of the sail that matches
the color of the front layer. That way the appliqué looks
the same from the front and back.
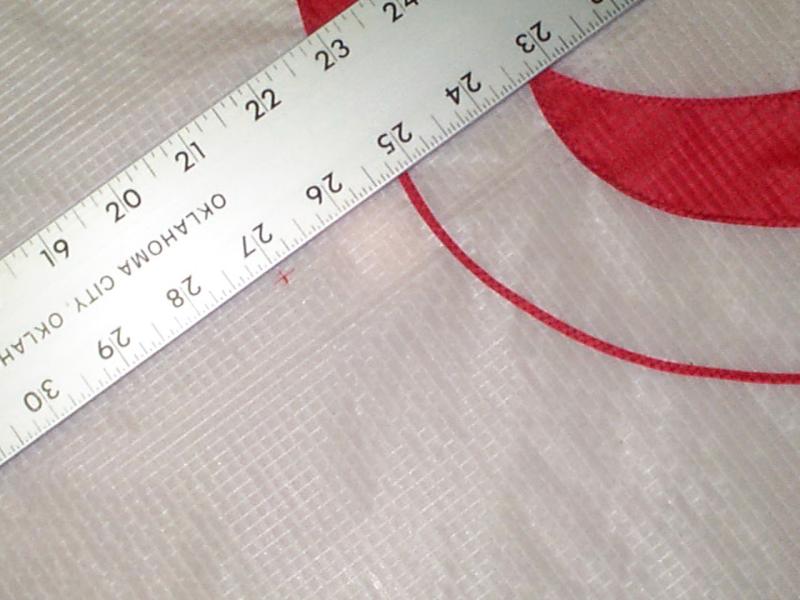
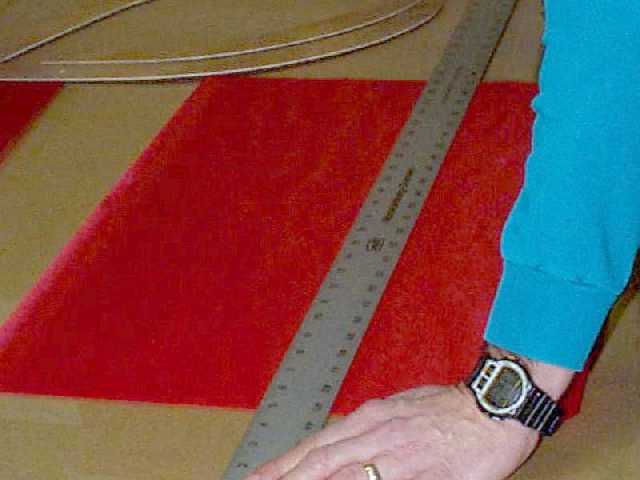 First I cut out two pieces of red cloth 15"x25" making sure the grain of
the cloth is running the same direction as the grain of the sail.
Taking the layer that I will draw on I carefully measure and find the vertical
center of the cloth to insure the appliqué will be drawn straight
on the cloth.
First I cut out two pieces of red cloth 15"x25" making sure the grain of
the cloth is running the same direction as the grain of the sail.
Taking the layer that I will draw on I carefully measure and find the vertical
center of the cloth to insure the appliqué will be drawn straight
on the cloth.
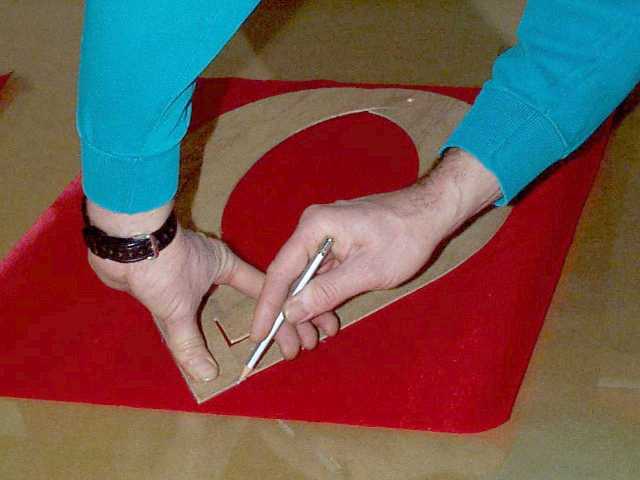
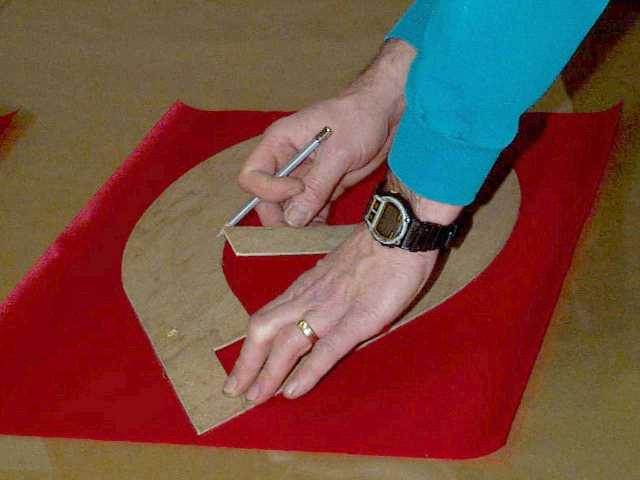
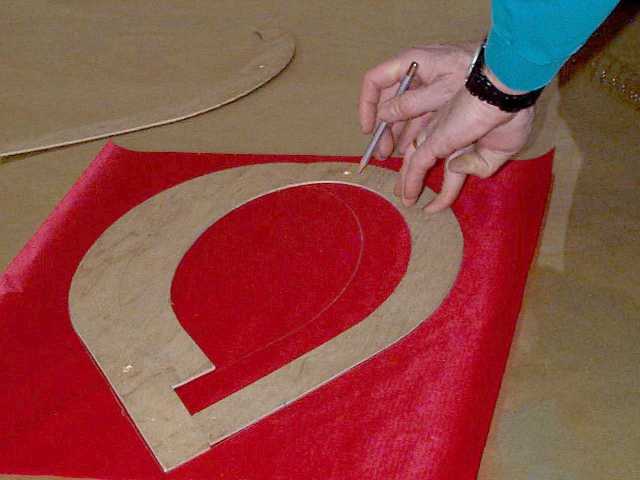

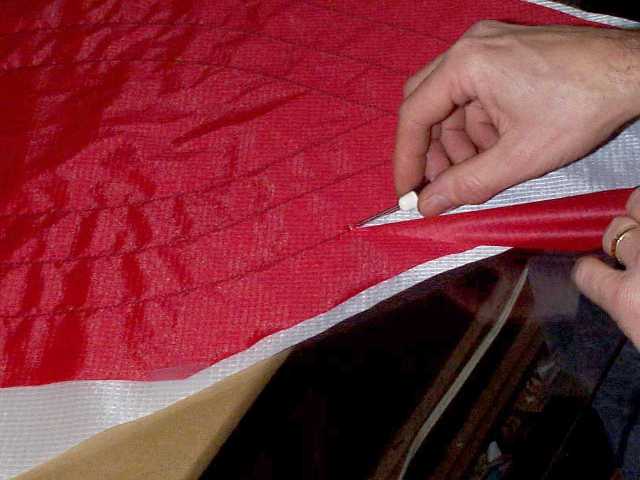
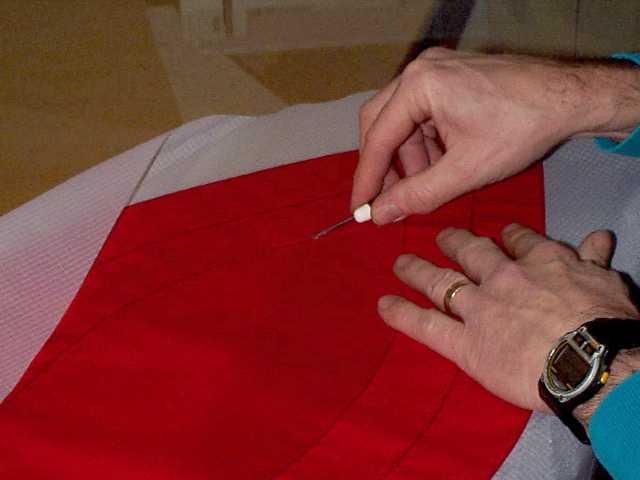
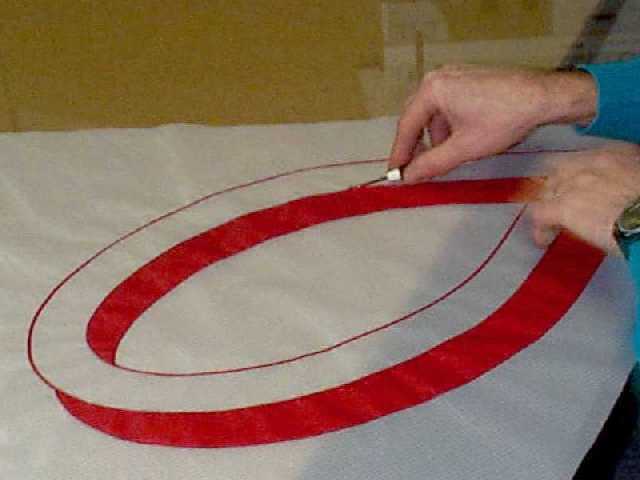
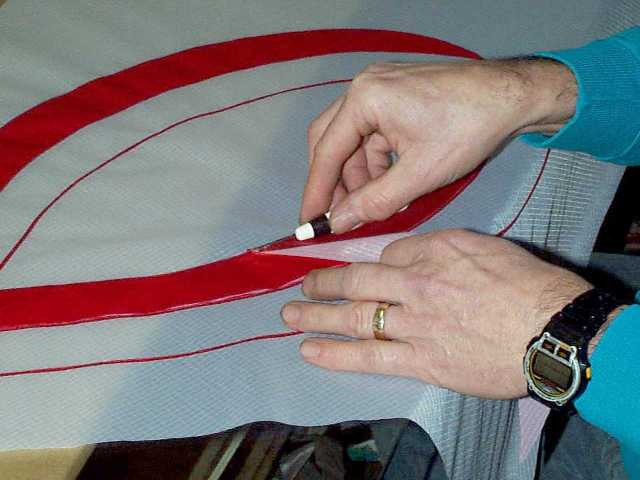
I use this pattern frequently so I made a plywood template for it.
The sequence of pictures above show tracing around the three piece template.
I have been very careful to align the template along the centerline of
the cloth and I am using a quilter's pencil to draw.
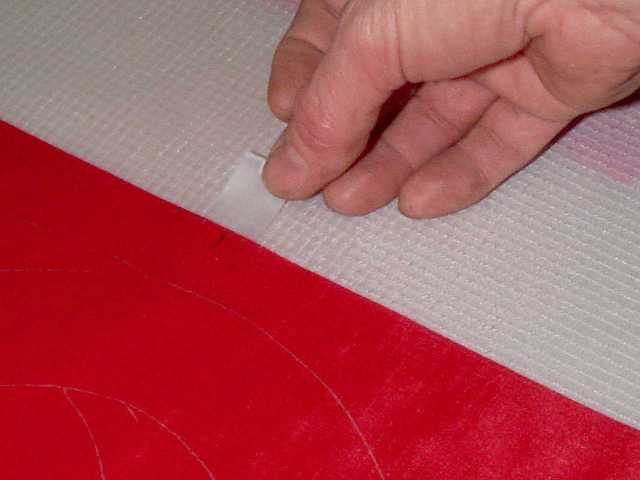
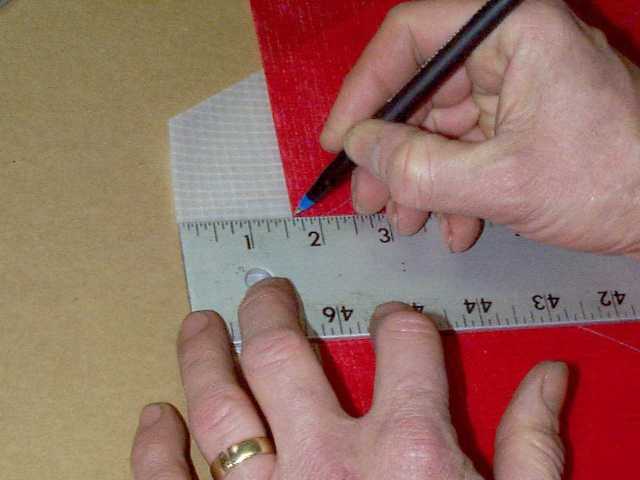
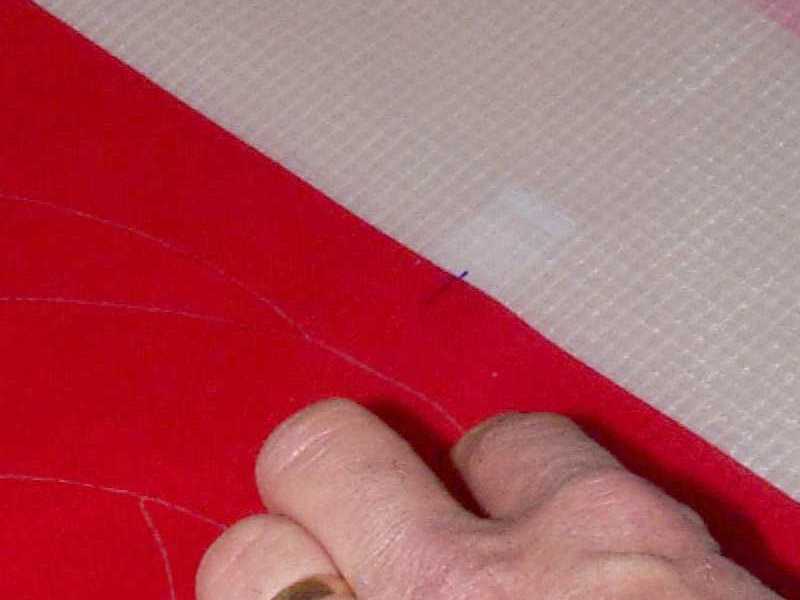
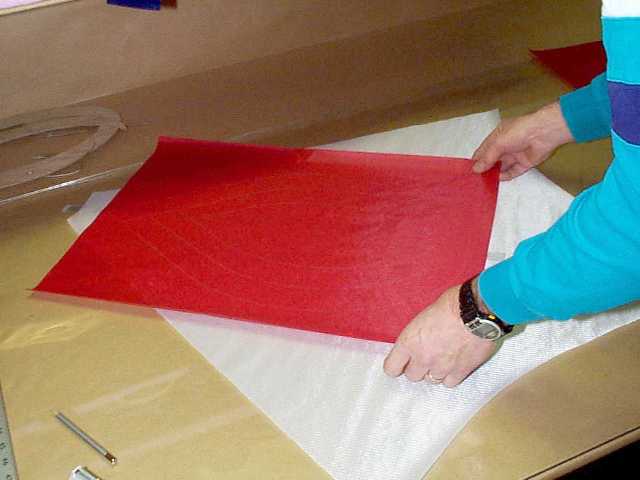
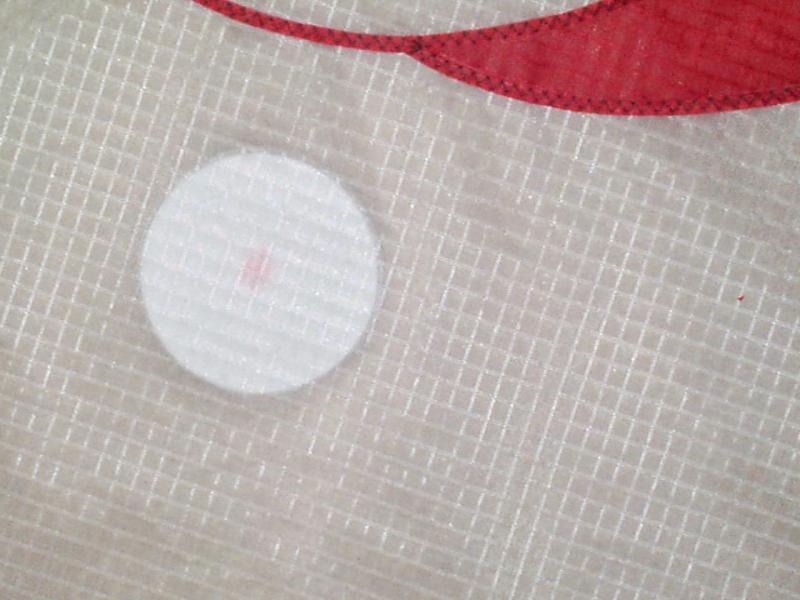
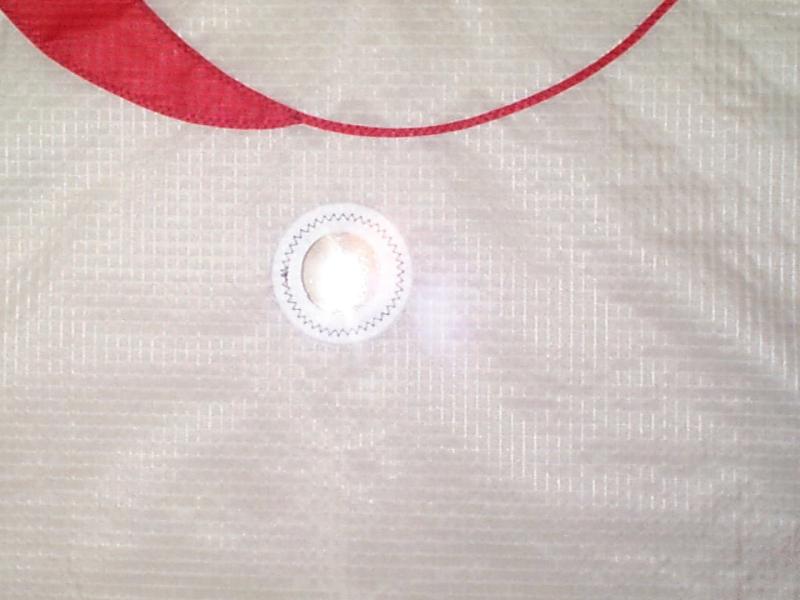
Placing the appliqué exactly where you want it once it has glue
on it can be a bit tricky. I prefer a very definite mark on the sail
that I can see very well when I place do this so I put a piece of tape
on the sail and draw on it. Once I'm sure that I know where I'm going to
place the appliqué I spray it with a light coat of spray adhesive.
For this purpose I like the cheap spray adhesive as it doesn't hold nearly
as well as the big name brands. I taped the sail to the glass working
surface to hold it in place as I drag the appliqué across the sail
and into place. Once the appliqué is where I want it I press
it firmly against the sail smoothing it flat. Turn the sail over
and apply the back layer of red cloth to the back of the sail. At
this point I generally trim off any of the appliqué material that
is sticking out over the sail and tape down the corners if they look like
they aren't going to stay in place.
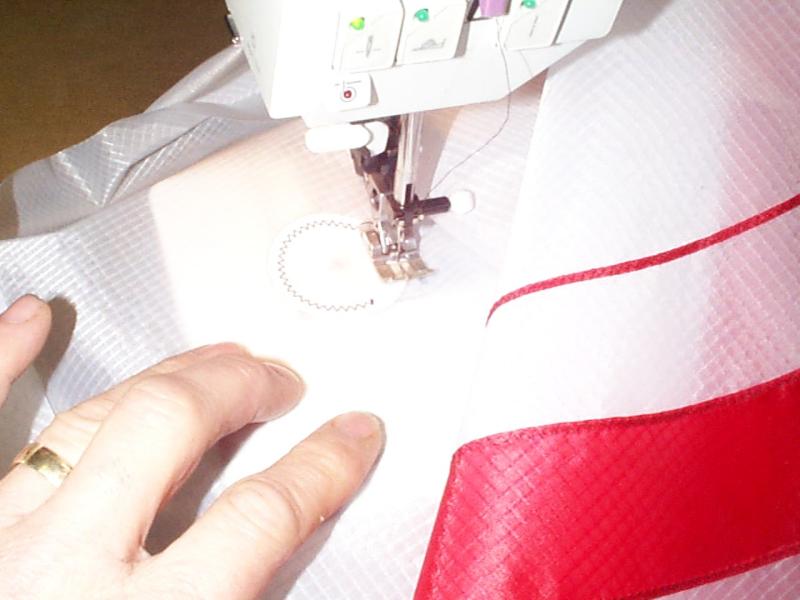
 I sew the appliqué seam with a 4 mm wide zigzag and normally
have the stitch length set to 1.5 mm. At this point I work against
some conventional wisdom. With the cloth lightly glued together I
sew first around the outside of the appliqué. This leaves
me a little safer IMHO that I'm not going to disturb the appliqué
sewing tight corners later. (This appliqué doesn't have any
tight corners, however).
I sew the appliqué seam with a 4 mm wide zigzag and normally
have the stitch length set to 1.5 mm. At this point I work against
some conventional wisdom. With the cloth lightly glued together I
sew first around the outside of the appliqué. This leaves
me a little safer IMHO that I'm not going to disturb the appliqué
sewing tight corners later. (This appliqué doesn't have any
tight corners, however).
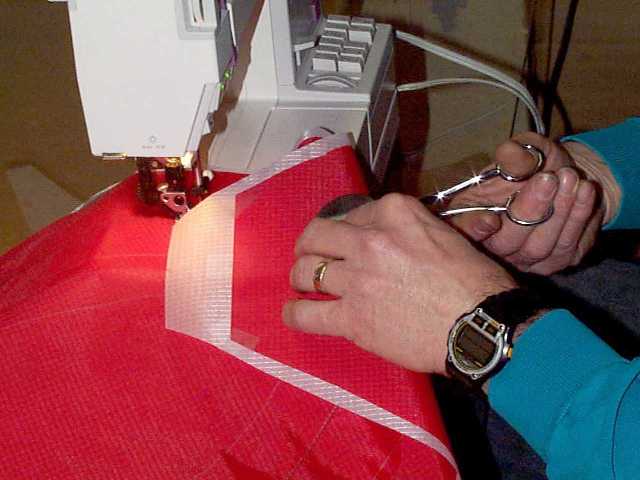 I
have learned to stop sewing and cut off the ends of the thread from the
start of the seam before I close the loop. This reduces the chance
of having an ugly knot at the end of the seam. When I start a seam
I start just beyond where I want to be and start with a zigzag backwards,
then sew forward over it for a lock stitch. At the end of a seam
I do one zigzag backwards for a lock stitch.
I
have learned to stop sewing and cut off the ends of the thread from the
start of the seam before I close the loop. This reduces the chance
of having an ugly knot at the end of the seam. When I start a seam
I start just beyond where I want to be and start with a zigzag backwards,
then sew forward over it for a lock stitch. At the end of a seam
I do one zigzag backwards for a lock stitch.
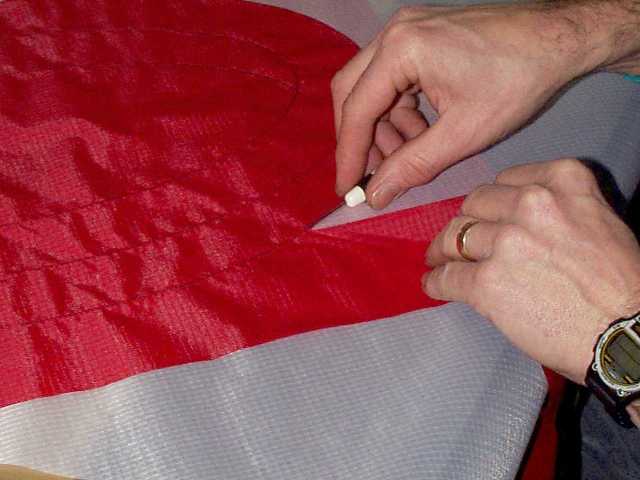

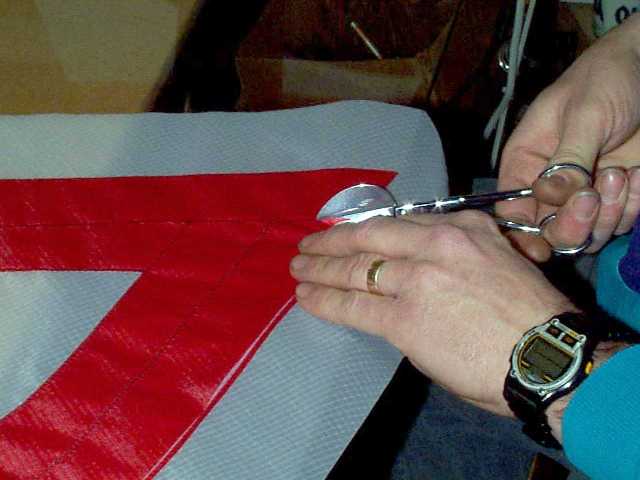
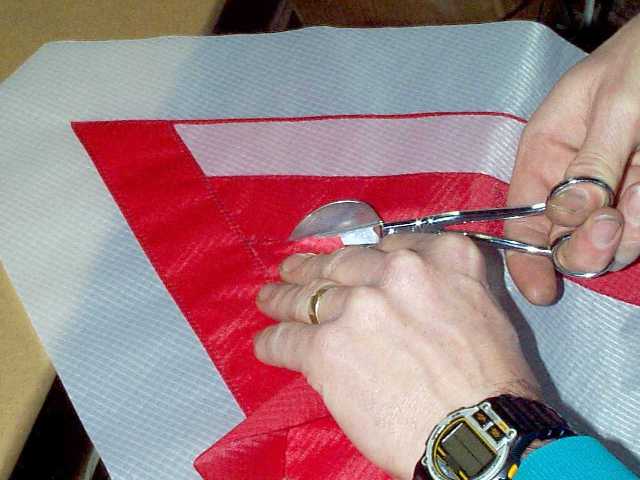
I use a stitch ripper and a pair of appliqué scissors to cut
away the appliqué. I use the stitch ripper with the pointed
end between the layers of cloth and press the tool against the seam as
I cut. It is important to keep the tip of the stitch ripper away
from the seam as it is very easy to cut through the zigzag stitch with
a stitch ripper. I use the appliqué scissors in tight areas.
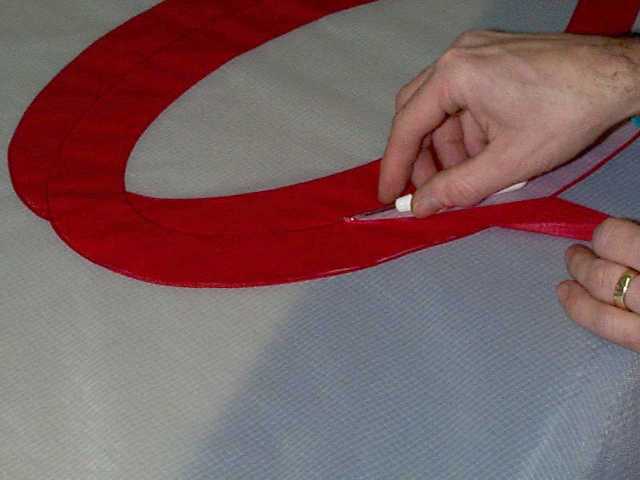
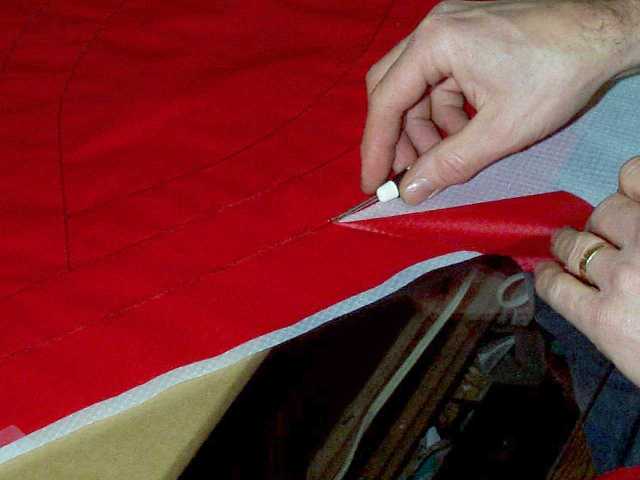
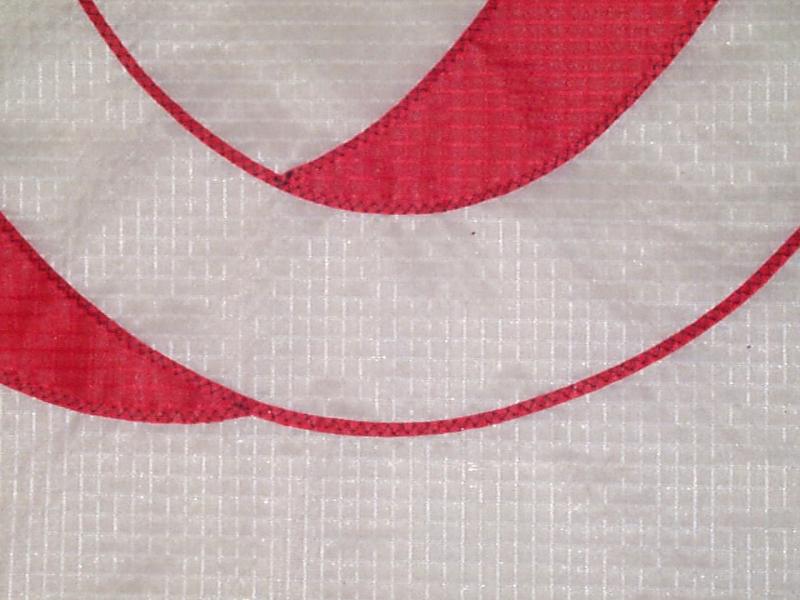
Some appliqués can be very time consuming, this one is relatively
quick and easy. I find it helpful to cut away all the necessary layers
at the same time for a cleaner edge. It is important to stay a uniform
distance from the seam so our outlining will be the same thickness.
Once I'm finished with one side I flip the kite over and remove the
extra layers from the back.
Before I sew the wings to the center sail I'm going to sew the center
tee reinforcement. I use two additional layers of porcher nylon on
the front and back of the sail. I cut these earlier when I was cutting
the sail. The two layers were hot cut together and I glue them to
the sail with spray adhesive before sewing.
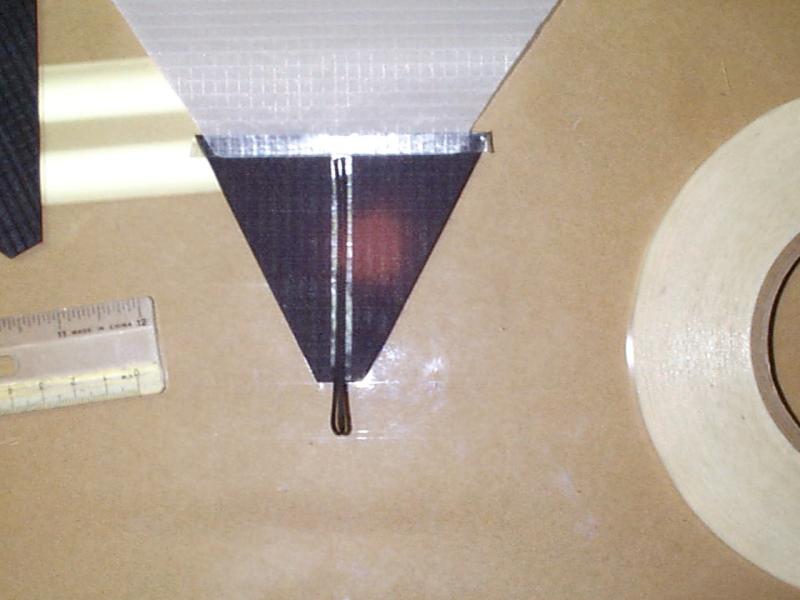

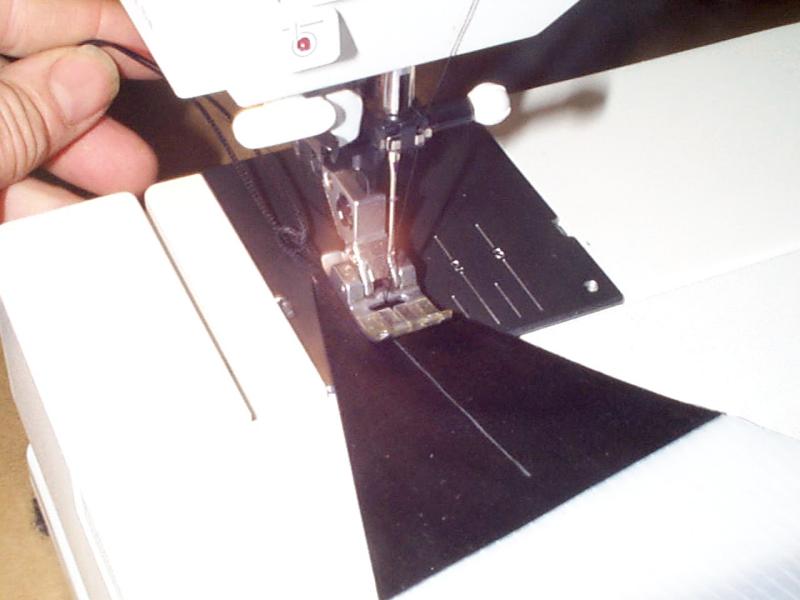
The final step for the center sail is the reinforcement for the tip
of the spine. For this I again use double layers of porcher on both
sides of the sail (4 layers total). This is one of the areas
that I sew through the seam stick. I tape a double layer of cloth
(3" tall) to one side of the sail. Then I turn it over and
put a layer of seam stick across the sail to stick the next double layer
of cloth down. I also put seam stick down the center of the cloth
and cut a 6 1/2" length of 80 pound dacron line. I fold the dacron
line in half and put the loose ends right at the lower edge of the horizontal
piece of tape then press it into the tape running down the centerline.
This allows for 1/2" of dacron loop sticking out beyond the tip of the
sail. Place a layer of tape over the dacron line and then the second
double layer of porcher to complete the assembly. At this point i
hot cut the excess material away before sewing the tip.
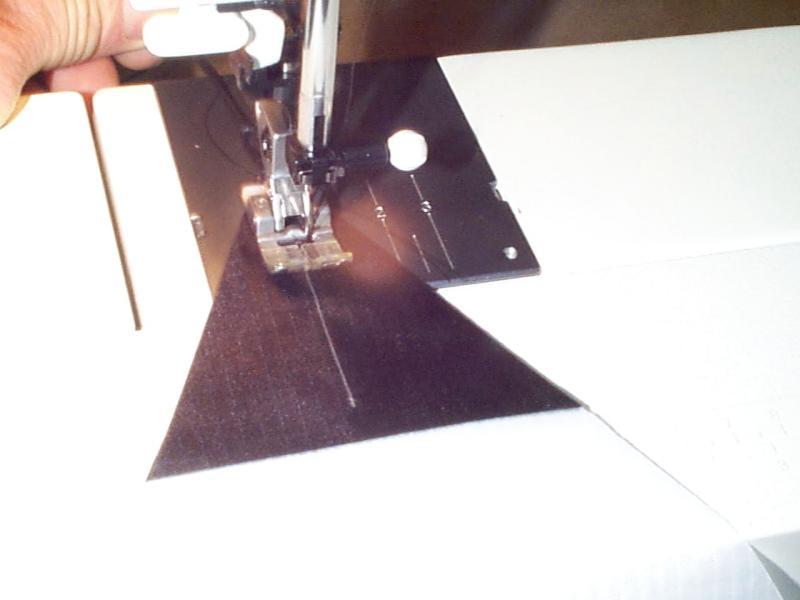
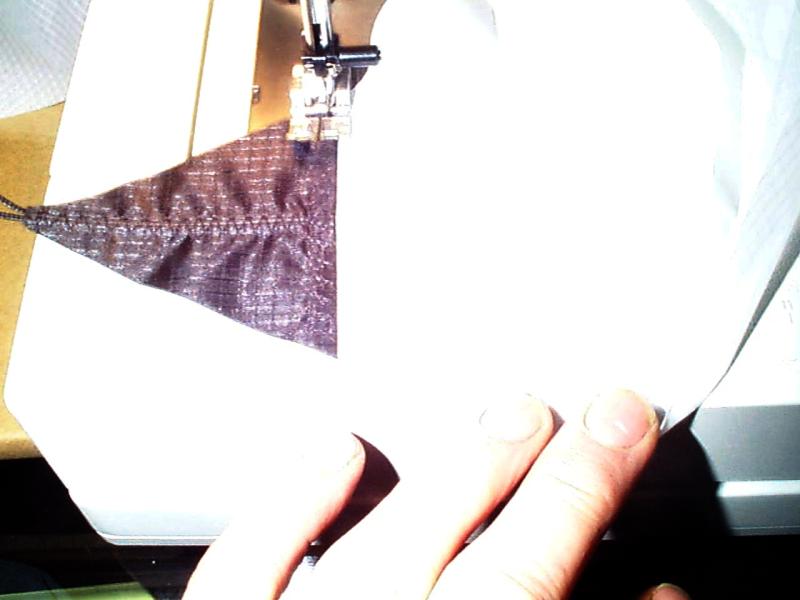
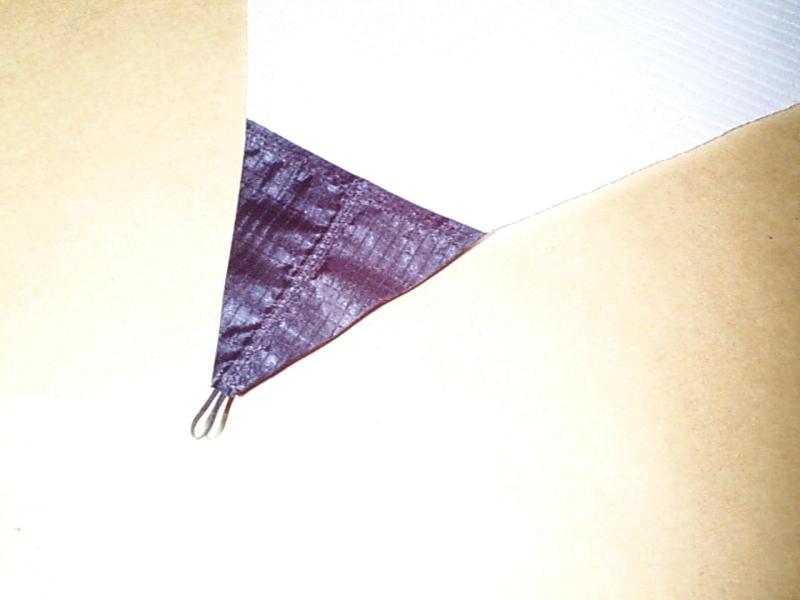
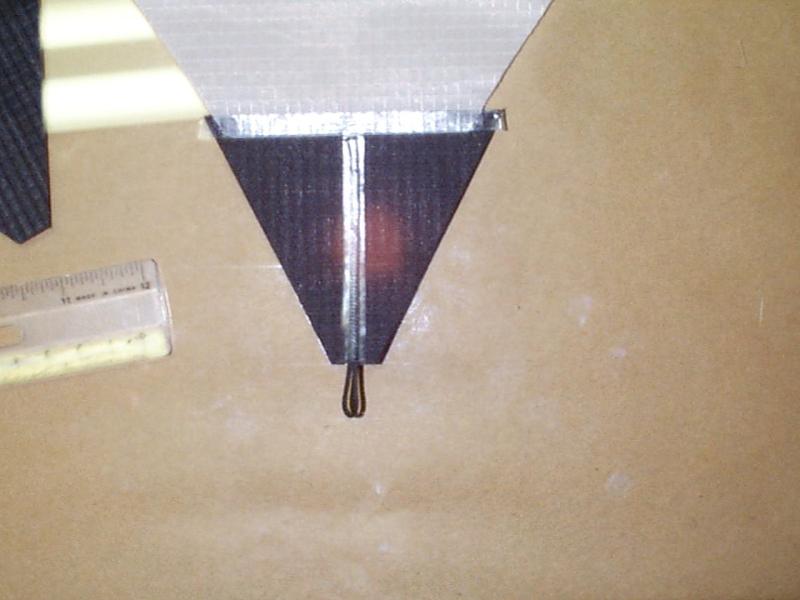
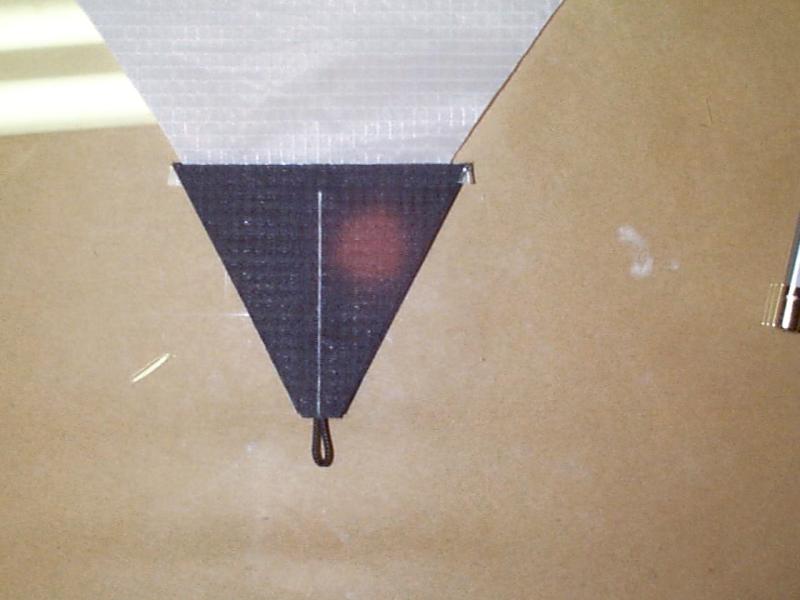
The dacron line is going to shorten slightly as we sew through it so
we want to start sewing nearest the loop end so we will still have a 1/2"
loop when we are finished. To make sure the sail feeds through the
sewing machine I place a piece of length of line through the loop to help
pull the sail as it starts. Once the sail starts feeding I'll get rid of
the line i was using to pull. Here I'm using a walking zigzag set
to .8 mm. I sew down the centerline to the end of the reinforcement,
tie off, and then sew across the reinforcement, sewing it to the sail.
This completes the preparations to the center sail and we are ready
to start sewing the sail together.