
![]()

Kite plans
Making kites one-self is much more simple now that the basic elements - carbon spars, glass fiber spars, ripstop fabric - are easily available. All my self-made kites, around fifteen, were first designed on my computer.
I strongly encourage you to make paper models of all your projects, eventually from your computer plans. Doing this you will be able to verify the geometry of the whole and, if the scale is sufficient, test the assembly of the seams and hems. To simulate the spars I sometimes use spaghetti !
I reproduced here the
plans that may interest the largest public. I simplified
them before converting them to gif files.
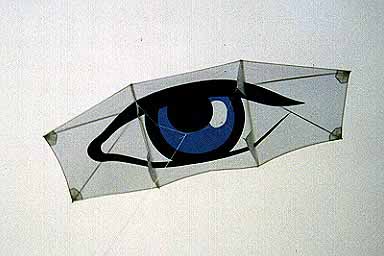
This is one of the simplest and most exiting design for a
single-line kite. It's big, it flies well and offers a big
surface to design. At every kite festival there is a big
collective Rokkaku fight !
It is always based on the same principle but there are no
established dimensions or even proportions. These are
mine.
The vertical spar must be rigid (8mm carbon for example).
The two horizontal spars must be bowed with a string, I
recommend 10 mm fiber glass rods.
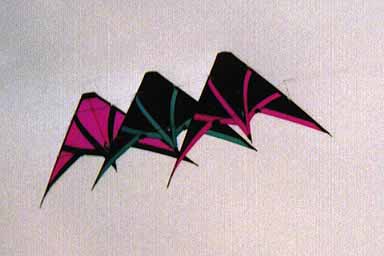
I build this model specifically for
Kite Aerial Photography. You
can find many Genki plans on the Internet, my model was
inspired from one of those.
The genki is easily and logically build as a 3m span kite in
one 4 m long rip-stop fabric piece.
It is bowed like a Rokkaku thanks to a big fiber-glass rod
(3x1m). The two vertical carbon rods can be left in place,
sewn in a sheath which also holds the stabilizers. The
bridling figured on the plan works but can be improved.
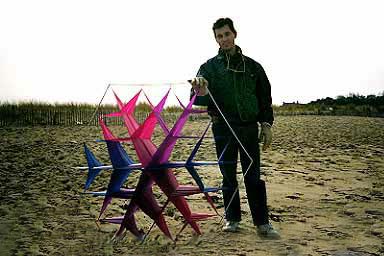
This model is very easy to build but asks many sewing ! It is made of six big triangles - half squares (in red on the plan), six medium squares (in green) and six small squares (in yellow). The whole is assembled around an spar (10mm fiber glass) that stays in place. Make a paper model before you begin !
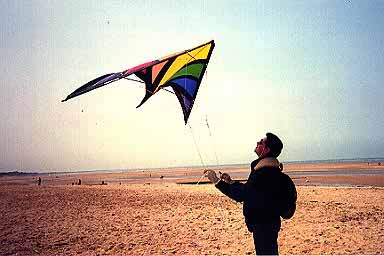
Many people think stunt kites are hard to design. There
are indeed many specific details (connectors, strengtheners,
etc.). The best is to look at other kites, especially
commercial ones, and look how they are made.
For the rest, geometry and panel design, you can use the
present plan.
I was inspired by the famous
Radical North Shore of Top Of
The Line, one of the most prized kite of all times !
It is quite smaller than the original and it only bears
three panels per wing instead of four.


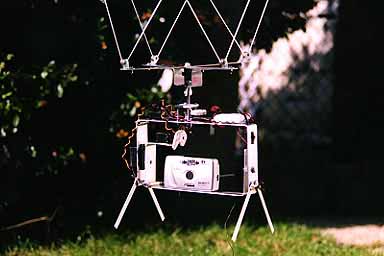
The cradle is build in a 40 mm wide and 2 mm thick
aluminum bar.
You must have a fairly good equipped workshop to do the job
(drill column, vice, files,...).
A trick : to drill and cut the holes in the right place I
printed the plan at 1:1 scale on a A4 label paper and
sticked the paper in place on the bar. No more measurements,
just cut and drill following the design.
This cradle is suspended on the kite line with a Picavet
suspension.
Designed for Kite Aerial Photography, this cradle was made for a particular camera : the Big mini VX of Konika. The camera had to respond to various criteria :
- Lightweight
- Motorized
- Integrated flash with "fill-in" mode
- Presence of a thread for fixing it
The fill-in flash feature is used to see from the ground
if the picture was taken.
The most difficult feature to match is the presence of a
thread under the camera. Most economical cameras don't have
any.
A click on any picture brings up a 640 x 480 pixel GIF picture.
Christophe Gronier © 1997
Last update : 19/6/97