The No-Knot Splice:
To understand the No-Knot, it helps to already have a working knowledge of the basic Splice. The downside of the basic Splice it is easily pulled out, either intentionally or otherwise. The No-Knot is superior in that it 'locks' so is more difficult to pull out. Like Splicing, the ease (or not) of accomplishing a No-Knot is premised mostly on the tightness of the weave of the braid, not the thickness or strength of the line.
The No-Knot was originally trademarked by Rainbow Stunt Kites. In the mid-1980's, the 'high tech no stretch' flying line for stunt kites was Kevlar. Kevlar is very abrasive and will eat right thru itself if tied in a knot. Sleeving and splicing were essential skills to early stunt kite flyers. The No-Knot kit from Rainbow included a latch hook 'beading' needle, and a length of sleeving. Once the loop was fixed, a length of sleeving was pulled over the line where the loop would cross to prevent chafing. The needle involved is easily obtainable in shops that sell & service knitting machines. They are available in a variety of sizes. This is a beading needle size.

On the Basic Splice, we needed to calculate where to insert the Splicer by bending the line and starting a long ways from the end of the line. The No-Knot system does the opposite. It starts about an inch from the end of the line, and goes towards the part where the bend for the loop will be.
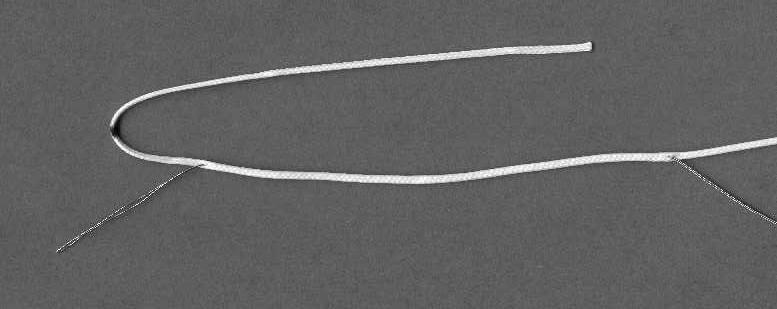
Then it is brought out about an inch from the mark for the loop.
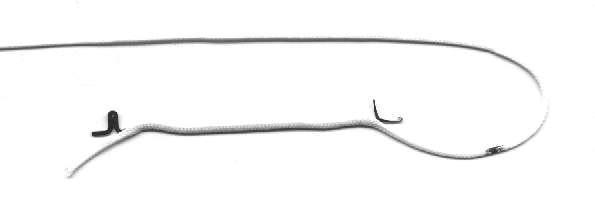
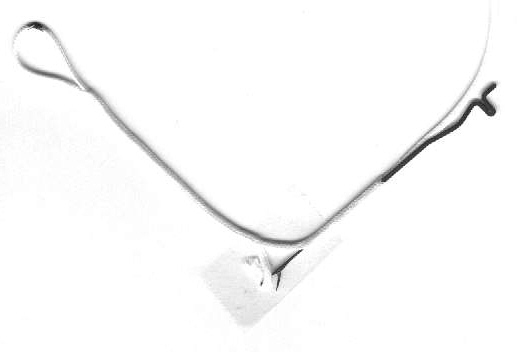
Then use the hook in the needle to grab the loop and pull it thru.
Notice when the loop is pulled back thru, the line turns itself inside out.
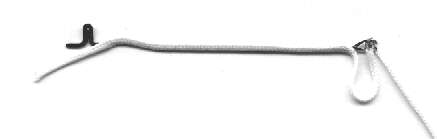
Smooth it out all the way, and it should look like this:
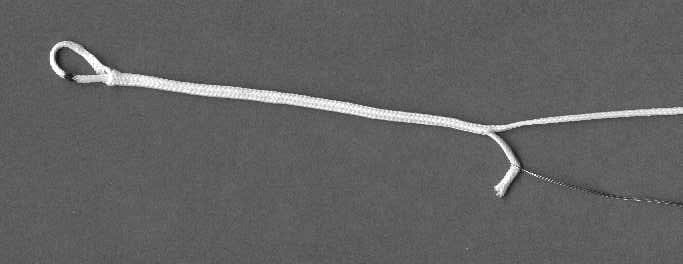
Now, all that is left is to tuck in the tail, and the No Knot Splice is locked.
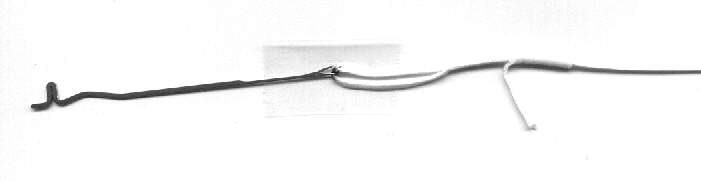
Insert the needle from the opposite end, and come out as close to the tail as possible.


Gary Engvall; The Kite Knot Page: http://members.aol.com/goodheavens/knots.html