Nasa ParaWing
send me a mail 

sail details
Follow carefuly sewing method described here. 
It is really the simplest way to build a NPW !


  • copy the layup pattern and hot cut the sail :
    • copy the layup of the finished measurements of each panel
    • don't forget to add margins (1,5 cm seams, 2 cm for the perimeter)
  • once finished, hot cut the panels
    • hot cutting allows a precise cut and strengthens the edge of ripstop.
  • attach the boby panels
    • only attach 6 and 7 for a two colors boby or for buggy sails  (maximum strength)
    • for 5 and 6 attachment you must first insert the "T" nose  needed to keep the nice rounded shape of NPW.Technics stitch with reinforcement cord and T

technics : stitch with reinforcement cord


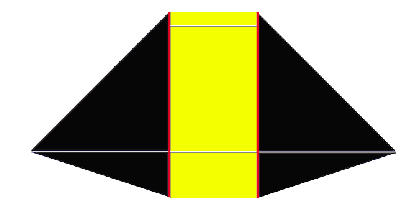
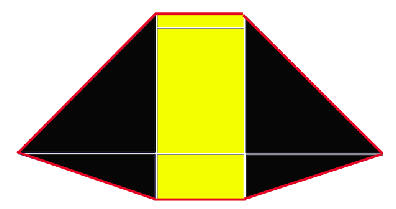
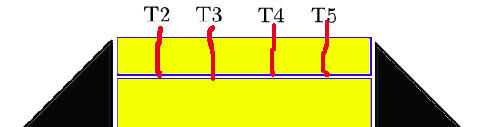
  • a reinforcement cord is inserted in the seams 
    • straigth stitch is sewn on both edges of folds
    • a zig zag stitch is sewn over the cord
    • this method allows a perfect strength of the seams.
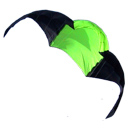
    • bridles will be then attached around the cord. This will ease a lot the NPW building... 
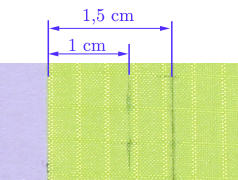
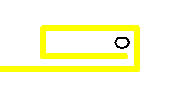
  • to facilitate the seam construction, I use the following method 
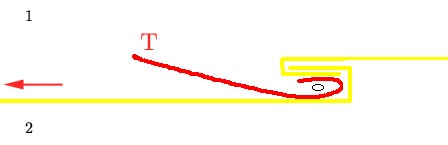
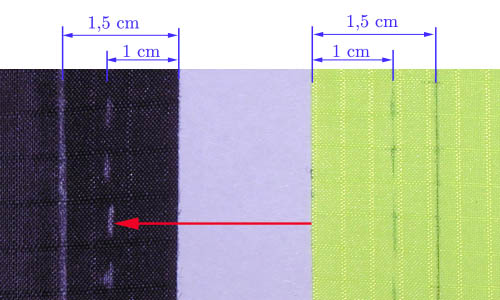
    • layout a line at 1,5 cm from the edge. This line is the finished sail measure
    • layout a second line (dashed) at 1 cm from the edge
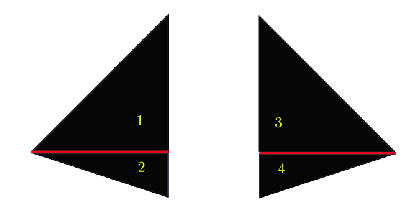
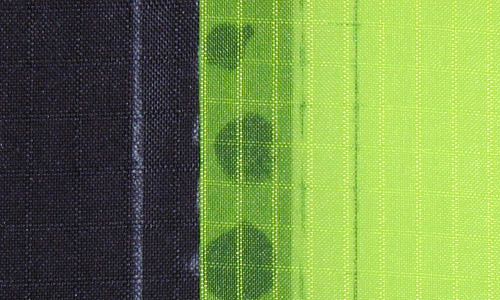
  • position the edge over the dashed line 
    • glue the two pieces together (just a few drops of cyano acrylate
    • cyano-acrylate glue can be dangerous for finger tips...
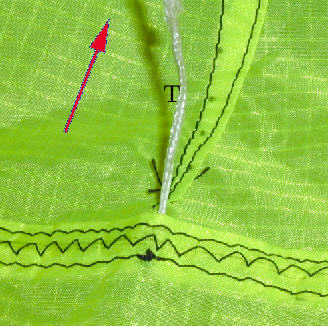
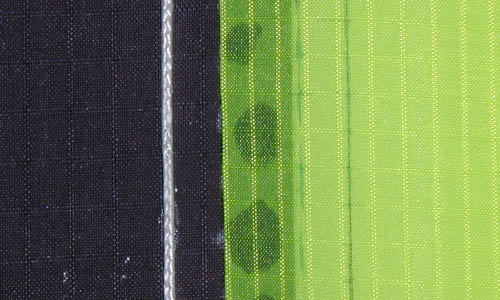
  • glue the cord over the first line
    • a few drops are enough...
    • with this very efficient method, all is done at once !!!
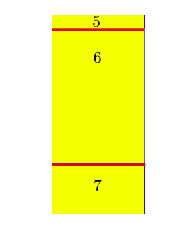
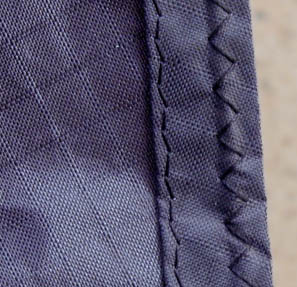
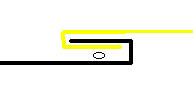
  • fold the seam to get the desired profile, to do that just follow the glued edges
    • if needed, add a few drops of cyano-acrylate glue again
    • sew a first straigth stitch (or a very long zig zag)
    • turn the fabric and sew the second stitch on the other edge 
    • zig-zag sew over the cord

technics : rolled seam with reinforcement cord

  • to perform rolled seams on the kite perimeter
    • layout a 2 cm margin
    • glue cord on the fabric edge
    • sew the cord with a straigth stitch (you will need at least a 1 mm cord to be able to sew it easily)
  • finish the seam
    • fold it twice
    • glue it
    • sew the egde with a straigth stitch
    • zig-zag sew over the cord


technics : stitch with reinforcement cord and "T"


  • There are 6 "T" on top of  nose, they are cord reinforcements which allow to bend the sail nose.
    • only T n° 2 to 5 are sewn when attaching panels 5 and 6
    • T n°1 and 6 will be assembled later when finishing the nose
  • "T" are inserted inside the seam
    • insert one T edge around the reinforcement cord before sewing it 
    • glue it
    • add 6 to 7 centimeters to the "T' compared to its final size. It will be fine tuned later.
    • localise carefully "inside" of the sail (figure 1 on drawing). Inside means "the side that pilot will see".
    • the red arrow points to top of  NPW nose.
    • "T" must be positionned as shown on drawing to allow to fold the nose over sail "inside"
    • sew as shown in  technics : stitch with reinforcement cord  
  • here is a finished "T" 
    • the arrow still points to top of sail
    • the stitch that you can see behind the T is one of dart nose. This will be explained later.